


Advantages of Perimeter Lines and How to Make Full Use of Them
They go by many shapes and names: Perimeter line, chicken strap, OS line (this doesn’t stand for outside), but they all serve the same purpose. The perimeter line is largely a utility line that is strung between 2 or more d-rings around the perimeter of your raft. In this piece we’ll be covering several uses, advantages, and some important thoughts for working with them.

Materials
Materials used for perimeter lines are myriad, but there are a few that stand out as the most popular lines used on the water. Whether it is by design, training, or old habits, folks tend to stick with what they know works best; and like everything else in boating, every region has its own reasons for why they do it their way. We’ll look at that in a little more depth in the rigging theory, but first let’s go through some of the most common types of lines that we see on the river:
Camstraps – They work in a pinch, but often have low working load limits. Flat webbing can be helpful if you have nothing else, but if you need to work with it in a rescue scenario they may end up snapping on you.
Rope – Thick rope has two major advantages: high working load limits, and a lot of surface area for swimmers to grab on to. Additionally, many ropes designed to be used in water are particularly resistant to rot and elongation. The downside is that in a paddle raft you may find the rope abrasive if you are taking strong strokes close to the boat.
Tubular Webbing – Tubular webbing has long been a favorite of river guides as it has a high working load limit and can be softer on your hands than rope. However, one of the downsides is high elongation since tubular webbing tends to naturally stretch a bit when it gets wet. Most tubular webbing also has great rot and UV resistance.
Advantages and Utility of a Perimeter Line
Some boaters are very passionate about not having a perimeter line on rafts. Bad experiences die hard, and on some rivers the threat of an entrapment far outstrips the benefits of having a line rigged. Nevertheless, it has become more of an industry standard throughout the world with many boaters preferring the utility of the line. This begs the question for newer rafters: Why would you want a perimeter line?
Having a perimeter line all comes down to utility. Some rafts reduce weight by stripping off handles; in this case you basically need a perimeter line to carry it to the water unless you don’t mind smashed fingers in d-rings. This helps any time you need to carry, portage, or hoist your boat.
Additionally, if you have carnage on the river with swimmers in the water, they can easily grab the perimeter line to keep them near the boat. If you are a rescue boat it can make it much easier to pull a victim back in if they can stay close to the raft. Swimmers who can self-rescue can also use the perimeter line as part of a ladder system to remount the raft. For this kind of self-rescue it is usually advisable to include grab-straps on your thwarts to help swimmers climb back in starting with the perimeter line then grabbing the handle to keep climbing.
Perimeter lines are fantastic in rescue scenarios where you have to use a lot of force to recover a raft. If you are wrapped or pinned badly a mechanical advantage system can be used in conjunction with the perimeter line. The perimeter line can serve as a semi self-equalizing system to pull on multiple d-rings at once to help free the raft.
Other times you need just need to help the raft along; the perimeter line allows you the advantage of having a universal grab point anywhere on the boat. If you are wedged in a tight slot or even just stuck on a gravel bar, you may opt to dismount from the raft to get it moving, a quick vertical pull may all you need to get it loose.

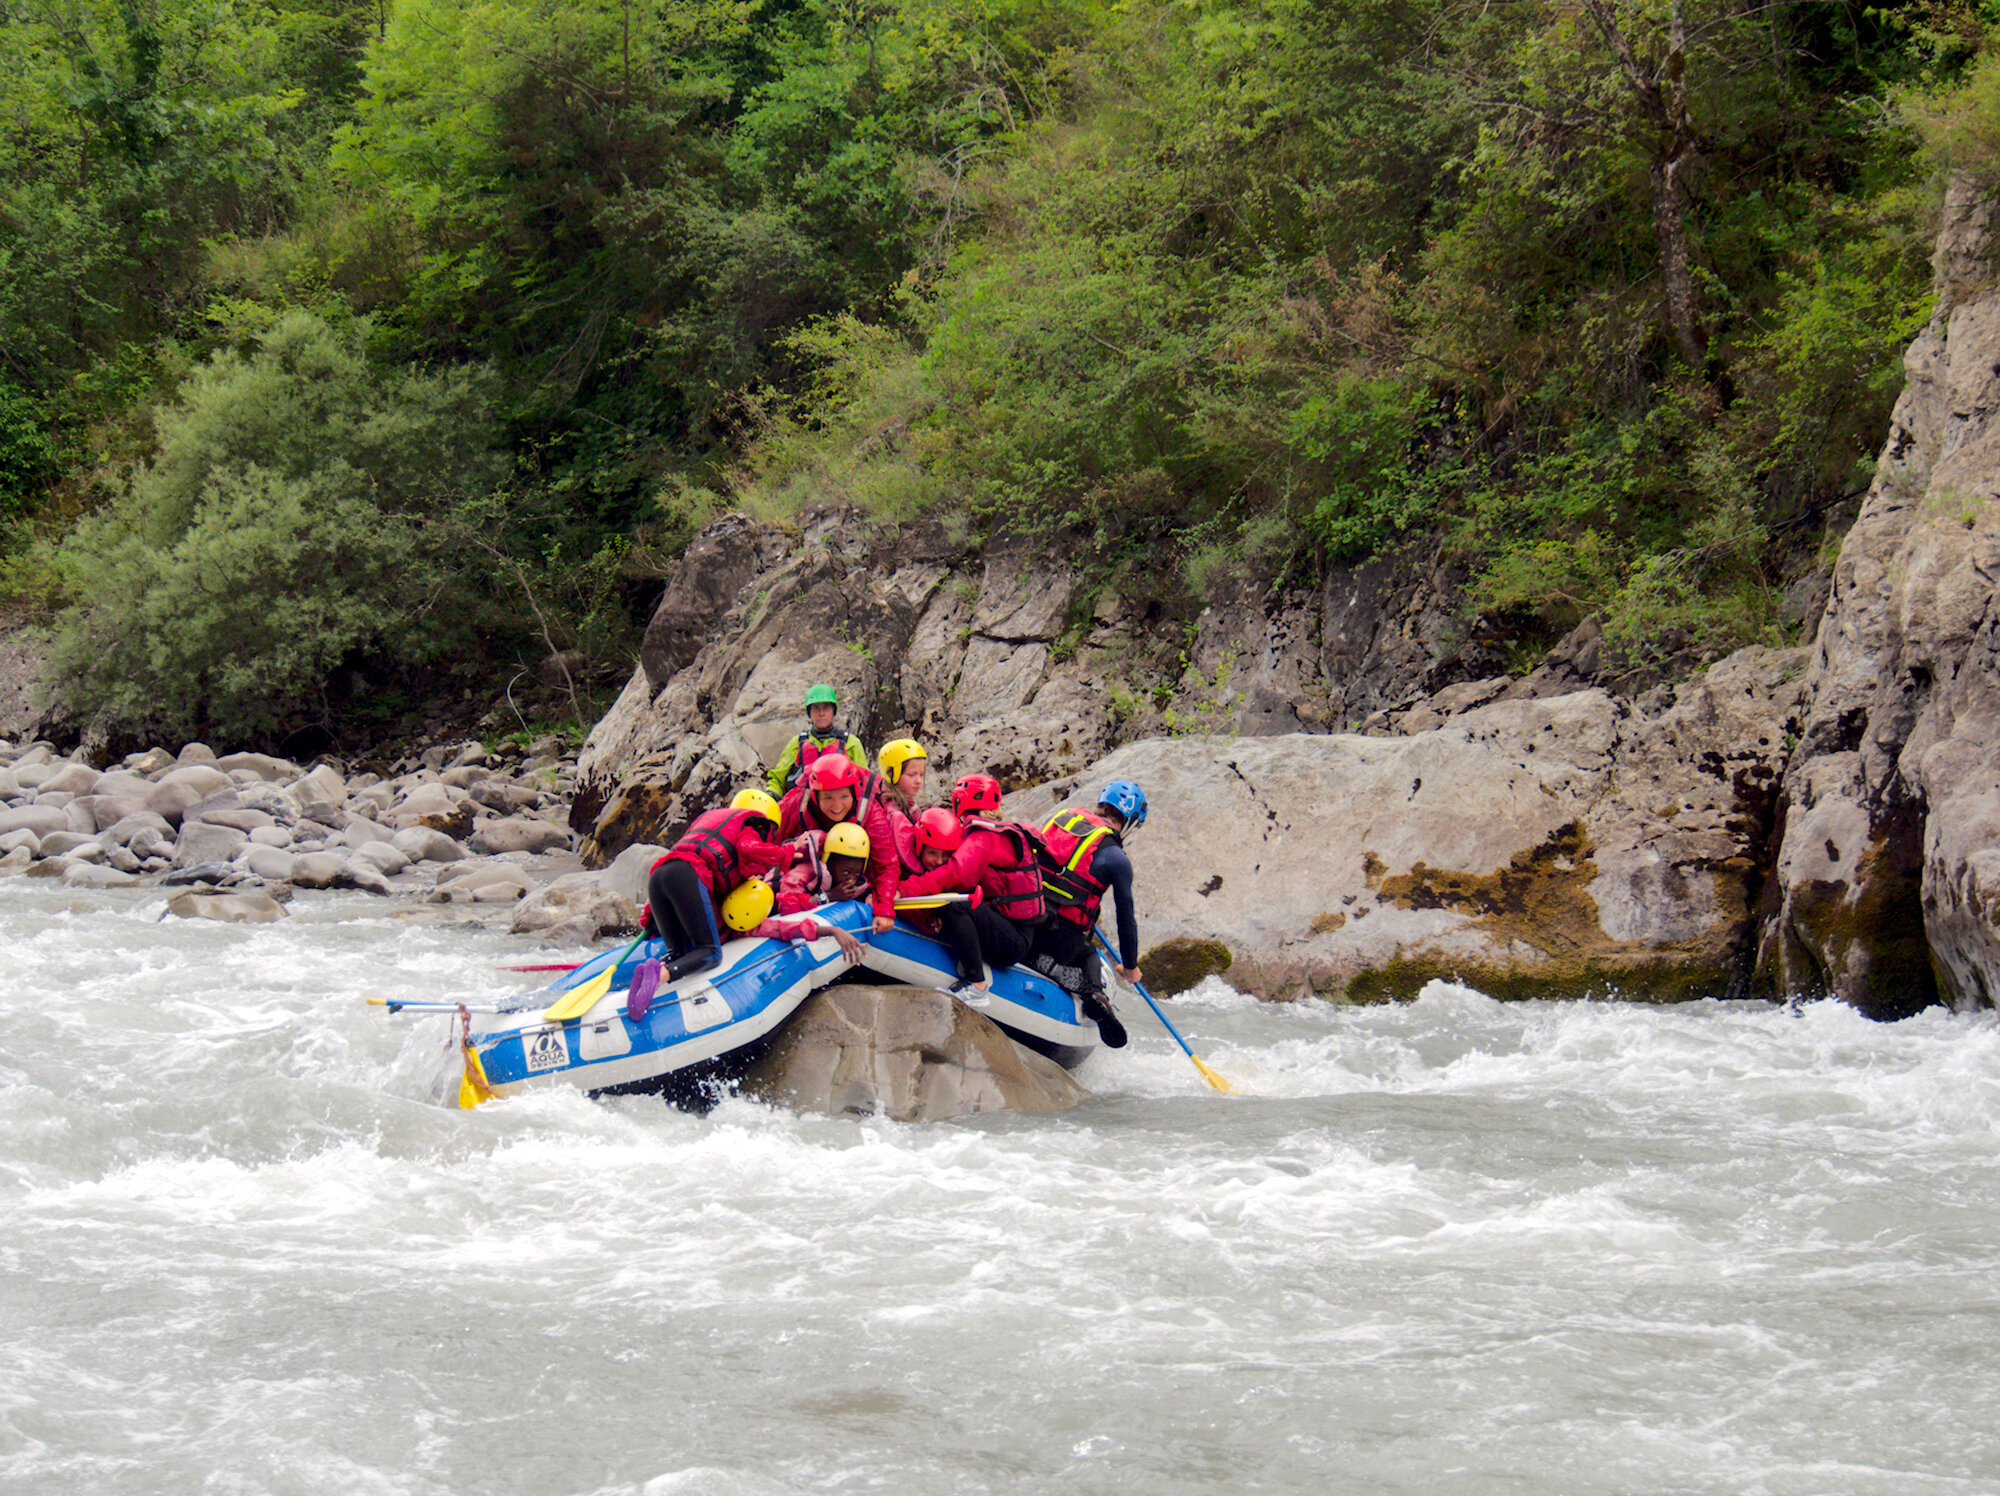
Perimeter lines can also be helpful when crews need to high side. When a raft is starting to flip getting to the high side is crucial, but also being stable as you do it is a big deal. Perimeter lines can help your crew avoid being flushed out of the boat as it gives them something to grab on to as they are climbing up or if they are trying to get stable on the high side so they don’t fall out. The flip side of this situation is if the raft is already too vertical folks clinging to the line will actually help pull it over. Some guides call this “closing the coffin.” If you are trying to flip this is commonly what guides will do to swim their crew in a training scenario.
There are a couple disadvantages to having a perimeter line as well, namely that a loose perimeter line can be dangerous to your boat and your guests. Loose lines can become stuck in trees or on obstacles in the river. Paddlers can also end up slipping into them as the boat compresses from an impact leading to someone being both violently ejected and tangled in a loose line.
Perimeter Line Rigging Theory
The most important part about rigging a perimeter line is to keep it tight at all times. As mentioned above it can be a nasty entrapment hazard so it’s critical to make sure that not only is the line is tight, but that it’s also adjustable so you can pull up any slack. Especially with perimeter lines you want to make sure you are following the clean principal as closely as possible.
In Zach’s video from Northwest Rafting Company, a trick he uses to keep his lines tight is to use a Munter hitch that’s backed up by two half hitches. This keeps the lines tight, but also easily to adjust. Zach typically likes to use thicker 7/16 or (11 mm) rope for his lines. This hitch combo can work very well to keep lines adjustable while preventing any slippage. You do have to make sure to get the Munter super tight and you may need some help to make that happen. You can check out Zach’s video below:
Another option that a lot of folks use is a trucker’s hitch to tighten up the perimeter line. This method uses mechanical advantage to get the line tight, but there are a couple of issues with this technique as well, namely that there are several possible entrapment points woven together. Also you have to put a knot and have 2 bends in the line to accomplish this which ultimately weakens the effectiveness of the system since any bend in the line will decrease the overall strength of the line. You can learn more about this in our guide to rope and lines.

Another important consideration is if you are rowing. The perimeter line may make it more difficult when you are rigging an oar frame to your boat. When you are threading straps through the d-rings, especially if you do it frequently in a commercial guiding setting, you are exposing the perimeter line to rope on rope abrasion. If this occurs and you have to use the perimeter line for boat retrieval then abraded perimeter lines can easily lose a ton of their working load limit and snap mid rescue.
Depending upon how you prefer to utilize your lines or what is available, perimeter lines can either be continuous: all the way around the boat, or they can be partial: covering only part of the boat such as only rigging to select d-rings.
Full Perimeter Line Method - Another theory of rigging is to have one continuous perimeter line all around the boat. The advantages are that it uses less knots and therefore less material. It also links all of the d-rings to one continuous strand to help balance out the amount of bounce as well as self-equalize the load for everyone carrying the raft. The main disadvantage is that it takes a lot more work and thought to make sure the line is tight.

Half and Half Method - Some boaters rig a line on the right side of the raft starting from the bow d-ring and going to the stern d-ring. They will then rig a second line on the opposite side of the boat from the bow d-ring to the stern d-ring. A huge advantage to this method is that it is a lot easier to get the lines super tight since the sections are shorter and don’t bend as sharply especially around the bow / stern of the boat.
Short Section – Some boaters are not comfortable with the risk of a line around the boat so they with only rig a strap along the short sections of the raft as this is where swimmers are most likely to grab on or be retrieved. The short section allows people to easily remount the raft or hold on while having the advantage of less perimeter line to get hung up on, especially in the bow and stern where a raft is most likely to deform.
Box Line – This is a variation of the short section theory, however instead of the line stopping at the end of the straight section, it crosses back over on top of the thwarts in the bow and stern. The idea here is to offer paddlers a grab point in the boat if things get wild. This line can be a super dangerous method or rigging though as you can introduce a potential snag hazard inside the raft rather than just outside. It can often be very difficult to get this line tight enough, and there are other alternatives like loop straps that can accomplish the same result while not introducing a line into the boat.
Other Variations
Floor Line - Some boaters will often strap a line from the middle of the floor to the bow or stern d-ring. This is most often employed under the raft to create an easier mounting point for a boater to climb on top of a flipped boat to right it. While this method presents a lower risk in higher volume rivers, it does present a greater risk in lower volume rivers and creeks where wood is more likely to be a factor. It creates an additional snag point on the bottom of the raft, so if you chose to employ this method make sure it is as tight as possible to help reduce that possibility of a snag.
Center Line – While not a perimeter line, it is worth mentioning as this method as it has gained some popularity in parts of the river community. This rigging technique can be extremely dangerous to any rafters and much worse for inexperienced boaters. The center line starts at the bow of the boat and strung to the stern of the boat creating a continuous center line down the raft. Most boaters try to get it extra tight by wrapping the line around each thwart as it passes over the top of them. Like the box line above we definitely do not recommend this technique for several reasons: The first being that you are introducing more line into the inside of the boat, and that the line is free floating in the center of the compartments rather than over a thwart. This makes it even easier for someone (especially an inexperienced rafter) to slip under the line and get caught. Second, the centerline doesn’t add much in the way of options that other rigging systems cannot accomplish (i.e. loop straps on thwarts). Overall this method is a pretty substantial departure from the clean line principal because it introduces a loose line floating freely in the middle of the raft.

