


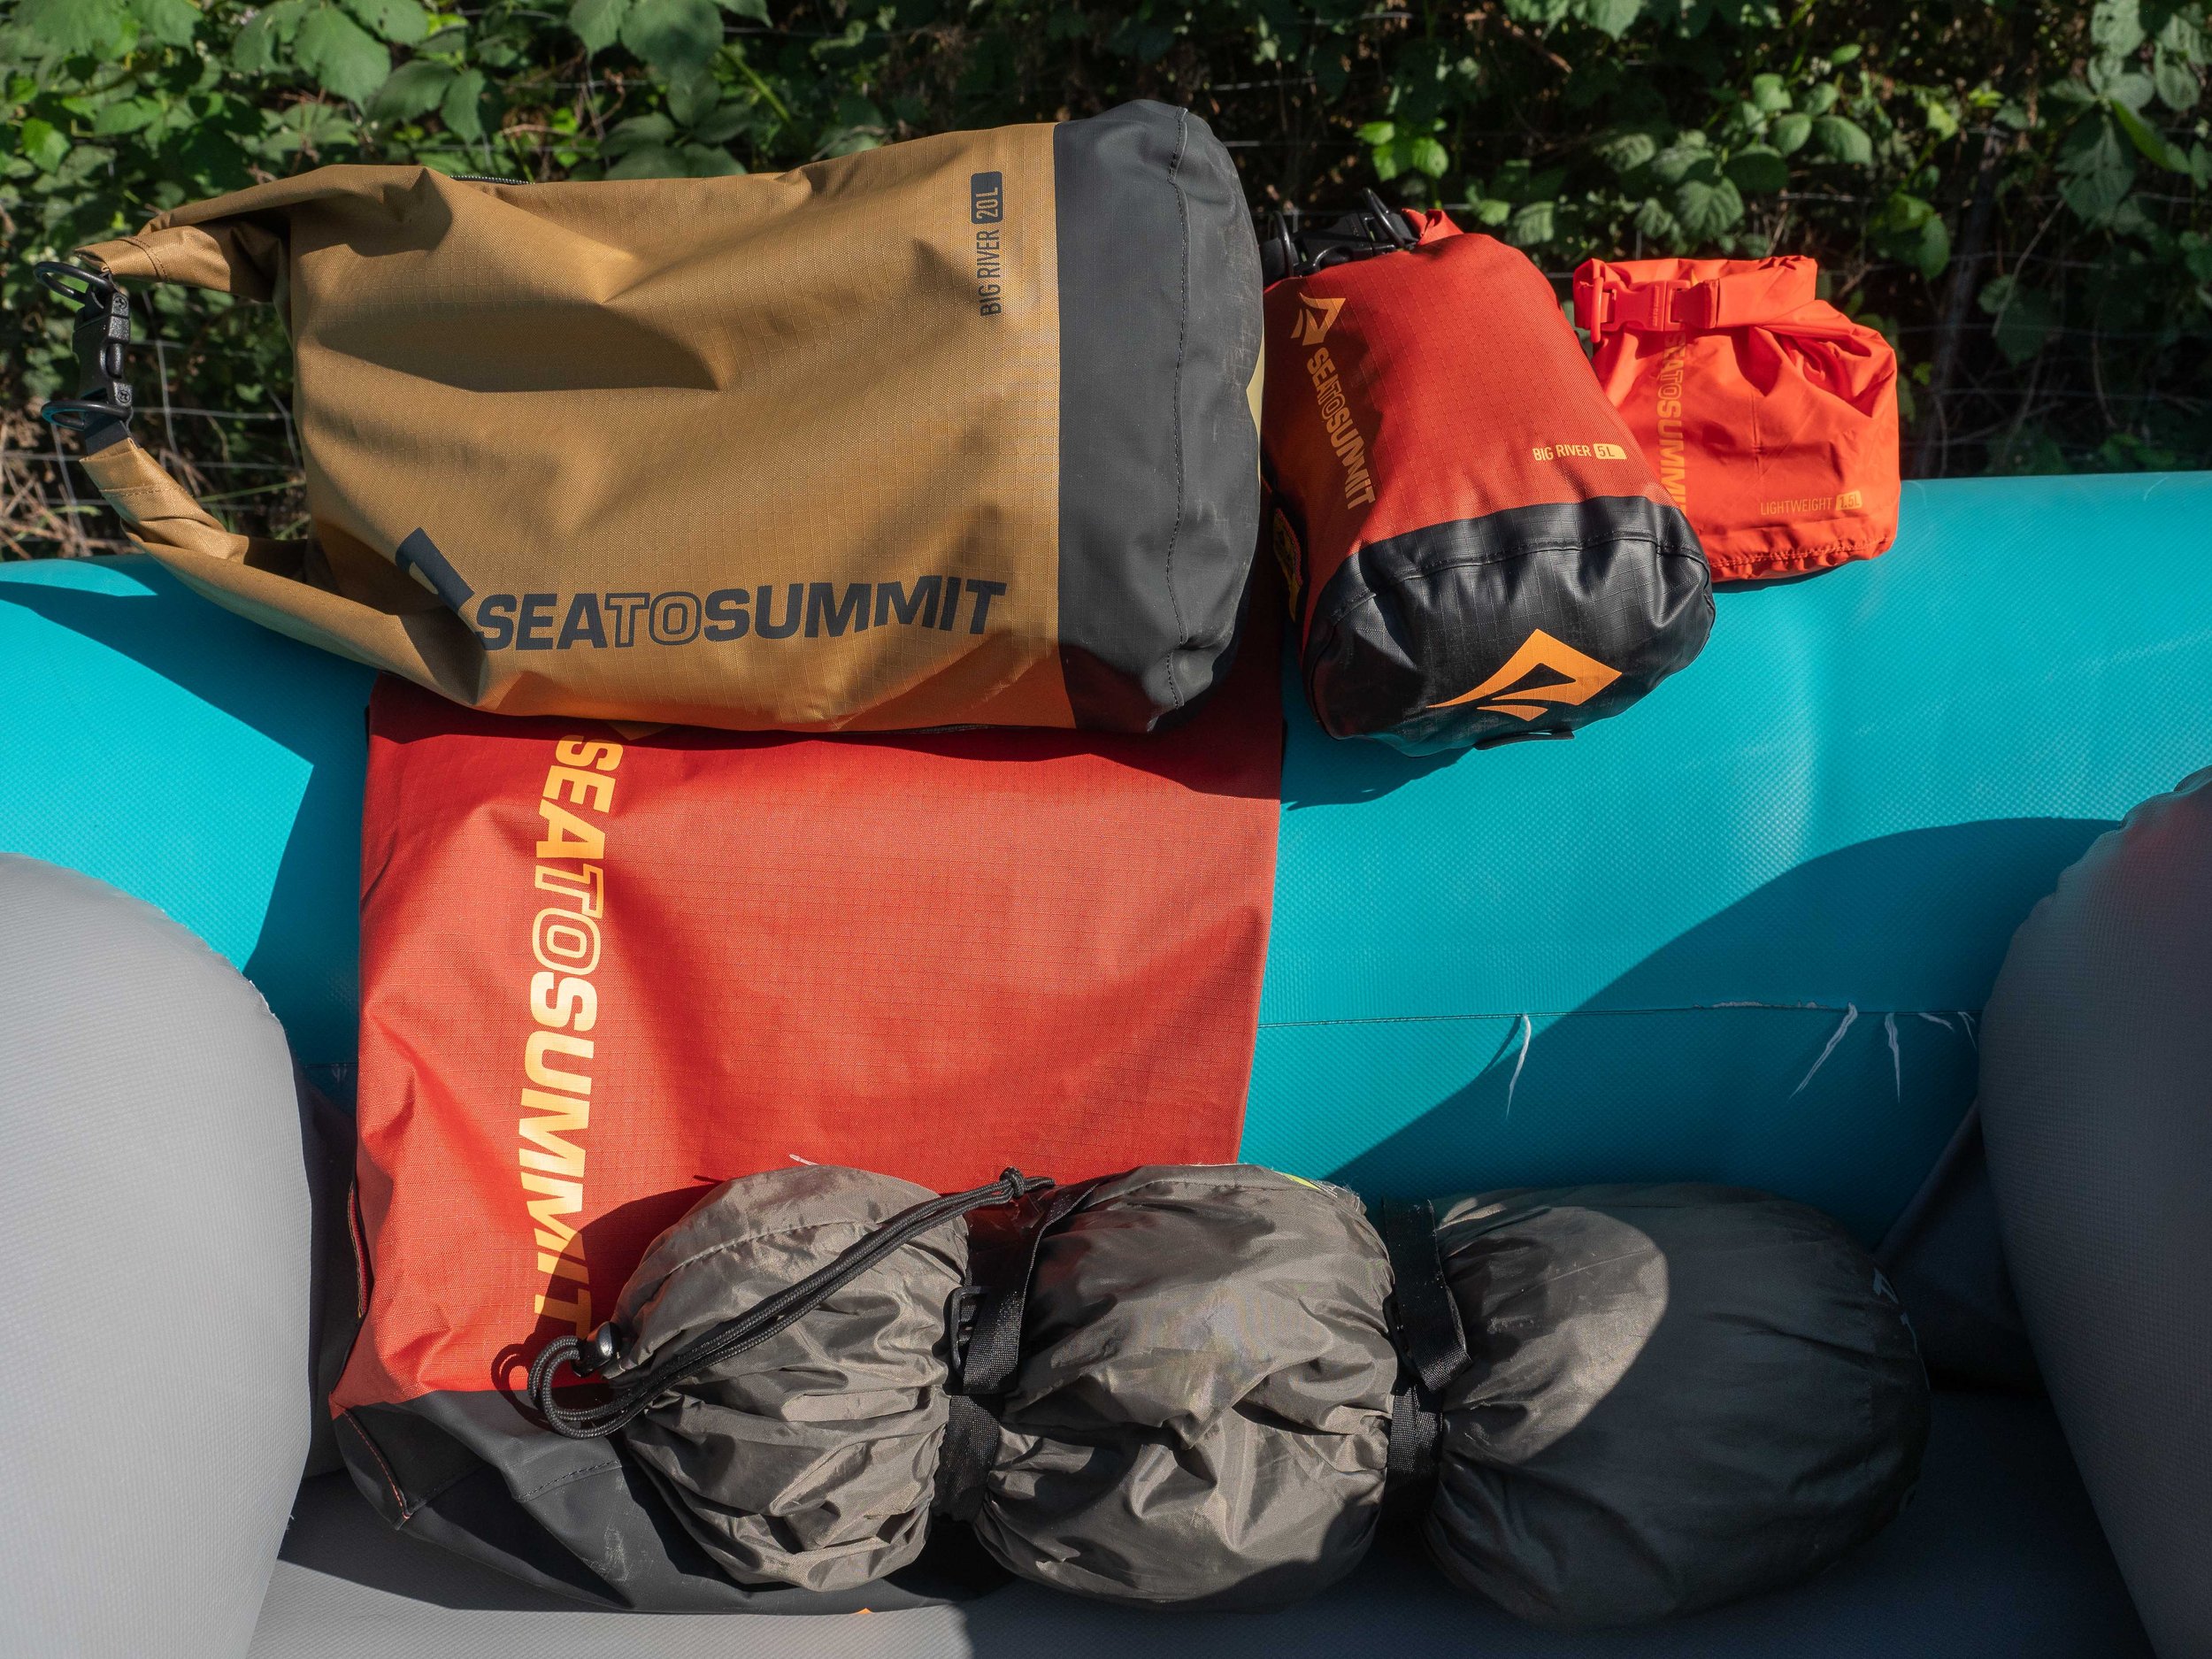
Let's pack a dry bag
Step 1 open the bag, step 2 put stuff in bag, step 3 close bag. Now we’re done, right? Not so fast my dude…
Drybags are part of an important organizational system, so if you’re one of those people who just throws your laundry on the floor this might not be helpful, but you’re an adult with a dresser let’s look at how and why you want to look at drybags as a system.
First, let’s talk about what a dry bag does well, it keeps your stuff mostly dry. Nothing is fully dry on the river because of a silly little physics concept called condensation. When you drop a sweaty top in a dry bag it creates a lot of humidity especially when it’s hot. When you then place that dry bag into the boat and cold water hits it, voila everything you packed for 3 days is now wet…awesome sauce! So, let’s look at drybags like a dresser rather than a pile of clothes on the floor. The main problem is that everything ends up getting wet at some point, so let’s start with personal gear. Consider separating your personal gear like a Russian nesting doll into smaller individual drybags.
Setting up your drybag system


You sleep on that?! – Fill this bag with your personal sleep system. This will include your sleeping bag, pillow, and sleeping bag liner. Some sleeping pads are light and collapsible and can also go in this bag if you use something larger like an Aire Landing Pad or a Paco Pad you will have to roll it up and carry it separately, but those dry fast. You should also think about making sure this is one of your best drybags since sleeping in wet sucks and there is not a lot of time on a river trip to dry this stuff out.
Ahhh, fresh undies – Everything you haven’t worn on the trip yet including a spare sleeping bag liner should go in your clean clothes bag. By ensuring that gear only comes out of this bag you will never be putting wet or dirty things in here. If the trip is a longer trip or you are expecting massive differences in temperature between the air and water consider throwing a couple desiccant packets in the bottom to keep the moisture at bay.
Bro, you stink! – have a separate bag for dirty clothes. The last thing you want on a multi-day or overnight trips is a bloom of bacteria or fungus because you stuffed a damp or sweaty shirt with your clean clothes. It’s surprising how fast it goes from fresh to you stink dude and honestly what would your river crush think? If you haven’t read our article on river funk, there are a lot of reasons you should not be mixing clean and dirty clothes.
Clean teeth, clean lines - Personal hygiene products should be kept in a separate bag so that you don’t mix them up with other peoples, but more importantly there is a lot of bacteria that things like toothbrushes can attract. Ultimately though you will be in and out of this bag frequently so you don’t want to be diving into a clean clothes bag for a toothbrush or worse keeping your toothbrush with a nasty 3-day old shirt, no judgment, but personally not into that.
What did you bring that for? – You will probably have other things you want to bring on a trip to keep. This could be some card games for camp, a multi tool, headlamp, camp slippers, the list goes on.
Main Personal Drybag – This dry bag should fit everything else that you have for yourself neatly into it. You also want to make sure that your most bomb proof bag is this one, it’s ok to use a bag you have a little less faith in for things like your personal hygiene or extra crap, but you want this one to be as hardcore as possible. Additionally, your tent can go in this larger bag since it is likely to be a little damp anyway and they usually dry quickly. Since you already sorted your gear, labeling it helps as well, you can now drop it all into one bag with your name on it and toss it into a gear boat strap it down and you’re good to go.

Drybag systems aren’t a stuff it and forget about it till it’s a problem solution. Partitioning gear like this has the helpful effect of redundancy. If your main personal bag is breached by a stick or is not closed properly, then the rest of your gear has a good chance of staying dry throughout the trip. Generally, it’s not necessary to double wrap items when using a dry bag. Back in the day when the old boaters were using waxed canvas, they would throw everything in a trash bag and tie it off first. Since it’s not 1970 anymore, and drybags are super cheap for quality bags just get a couple extras. The purpose of a dry bag is to keep water out, and most dry bags are designed to do this effectively on their own.
How do I pack a dry bag?
When you are packing these bags it’s a good idea to really look at how you pack each bag. When you’re packing think about packing the least used item first and layering up to the most used items. Here are some drybag packing best practices:


Begin by laying the dry bag flat with the open end facing upwards.
Start by placing the softest least used item at the bottom. You can also drop an extra shirt in there to pad out the bottom and prevent anything from puncturing the bag from the inside.
Place your items in the bag, starting with the least used item at the bottom and working your way up to the most used items. This will ensure you don’t have to dump everything out every time you want to brush your teeth. Also, if you have any hard or pokey items make sure to keep that in the very center of the bag.
Once you have finished adding your items, compress you bag to get all of the air out of the bag.
If you are using a dry bag with a zipper closure, zip the bag closed.
Once the top is rolled down as far as it will go, fasten the buckles or clips to keep the roll in place. This will help to create a watertight seal. If you are using a roll-top dry bag, roll the top of the bag down a few times, starting at the end with the buckles or clips.
It is important to pack your dry bag properly to ensure that it stays dry. Make sure to leave enough room in the bag for the items to move around slightly, as packing the bag too tightly can make it difficult to roll the top down properly and create a watertight seal.
It's also a good idea to make sure that any items that could potentially puncture the dry bag, such as sharp objects or pointed edges, are packed carefully and not left loose inside the bag. This will help to prevent any accidental punctures or tears in the bag.
Packing a drybag with medical supplies
You should also consider this packing system for medical kits. The above principles apply when you’re putting together your first aid gear. First drop medical kits into a bombproof drybag that you trust. Here are a few extra tips you can use for you medical supplies:
Try locking lid plastic Tupperware for the medical supplies that absolutely cannot get wet.
If you prefer a repartitioned bag of supplies use a smaller drybag to enclose the medical supply bag for redundancy.
A desiccant packet inside each smaller bag or Tupperware will help reduce the moisture and keep things like gauze, bandages, and sterile supplies from getting wet.
Label all of your smaller partitioned kits with a brief inventory of what is in each one. For example: basic first aid, band aids, prep pads, ibuprofen. This way anyone getting into the bag knows where to find things quickly.
You can fold a SAM Splint over your trauma shears and use a rubber band to keep them in place to avoid punctures as well. If you use a watershed dry bag, they come packaged with 2 perfectly sized rubber bands for this.
Partition your bags into basic first aid supplies and more advanced supplies. Things like band aids, tape, prep pads, and more commonly used items should go in one bag. Put the more rarely used or advanced items in a second bag. Things like large gauze rolls, large pads, cohesive bandages, and wound closure systems should go in a second bag. Introducing water rescues into a situation that requires first aid creates a challenge for keeping it all dry. So, if the situation is minor, it is best not to have to even open a sealed unit of advanced supplies for just a band aid.

There are a ton of good drybags on the market, but if you consider drybags like a dresser it’s going to go a long way to keeping you organized on the water. When you have a place for everything you don’t have a mess of gear rolling around and everyone isn’t waiting on you to pile your crap you just scattered all over the beach back into your bag. That makes the stress go away and everyone gets to have a good time focusing on the trip and not their mess of gear. There’s a ton of great drybags on the market, but if you need some recommendations, you can grab a few of the bags from the links in this article.

